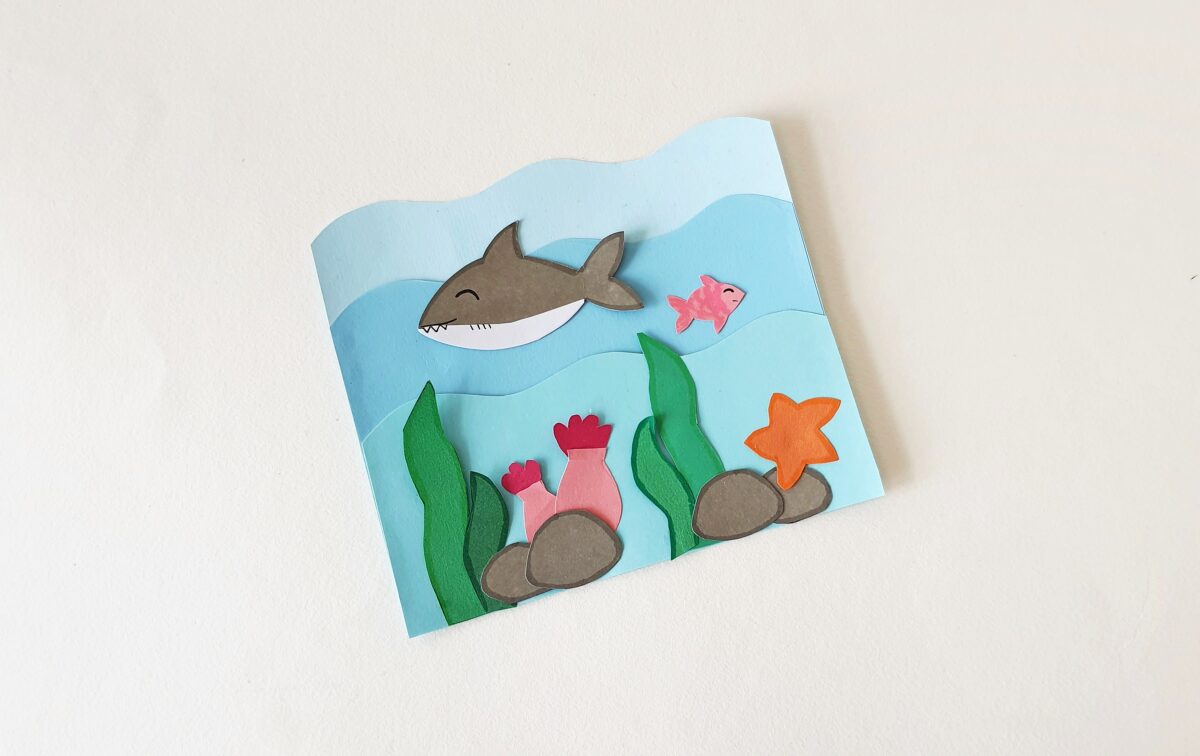
Transform colored craft papers into a vibrant aquatic world featuring layers of shimmering blue waters, playful sharks, colorful fish, starfish, and swaying underwater plants.
This step-by-step guide will show you how to bring this delightful papercraft scene to life using simple supplies like scissors, craft glue, and Sharpies.
Engage your child’s imagination as they craft their own underwater masterpiece, complete with movable fish for added fun. Let the aquatic journey begin.
How to Make an Underwater with a Template
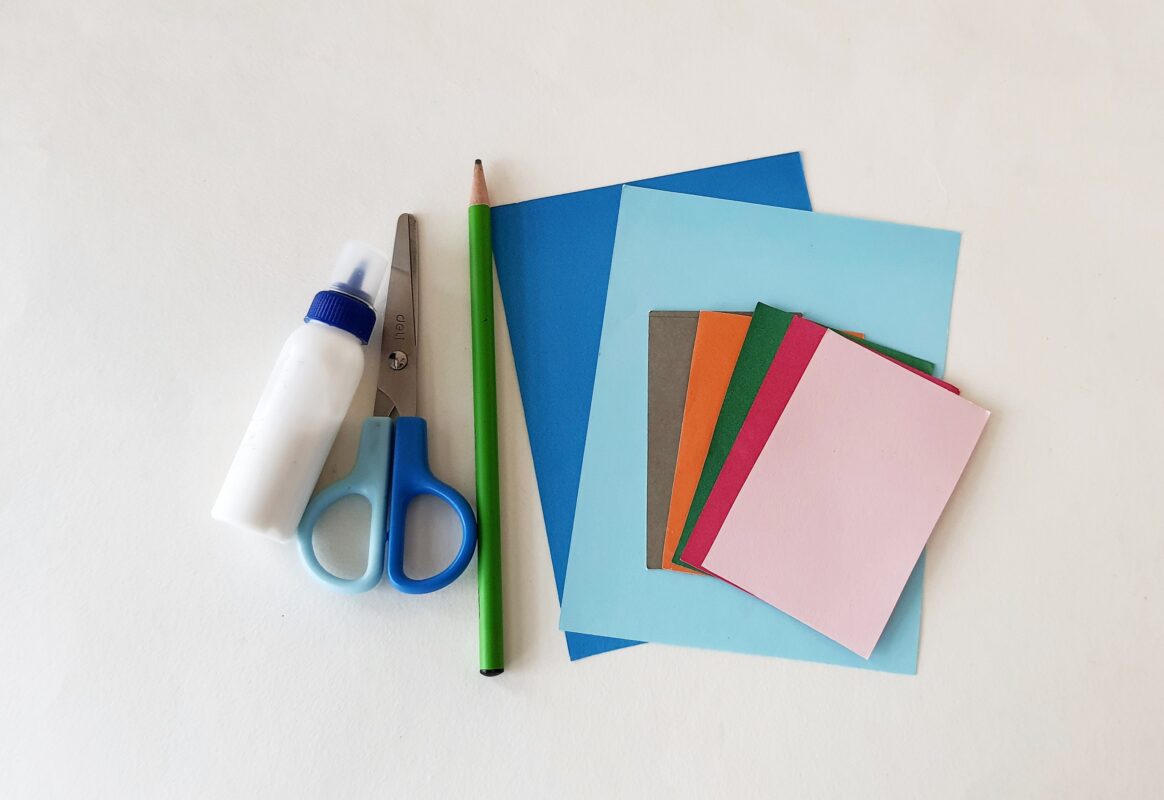
- Colored craft papers
- Craft glue
- Pencil
- Sharpie
- Scissors
Instructions:
Step 1:
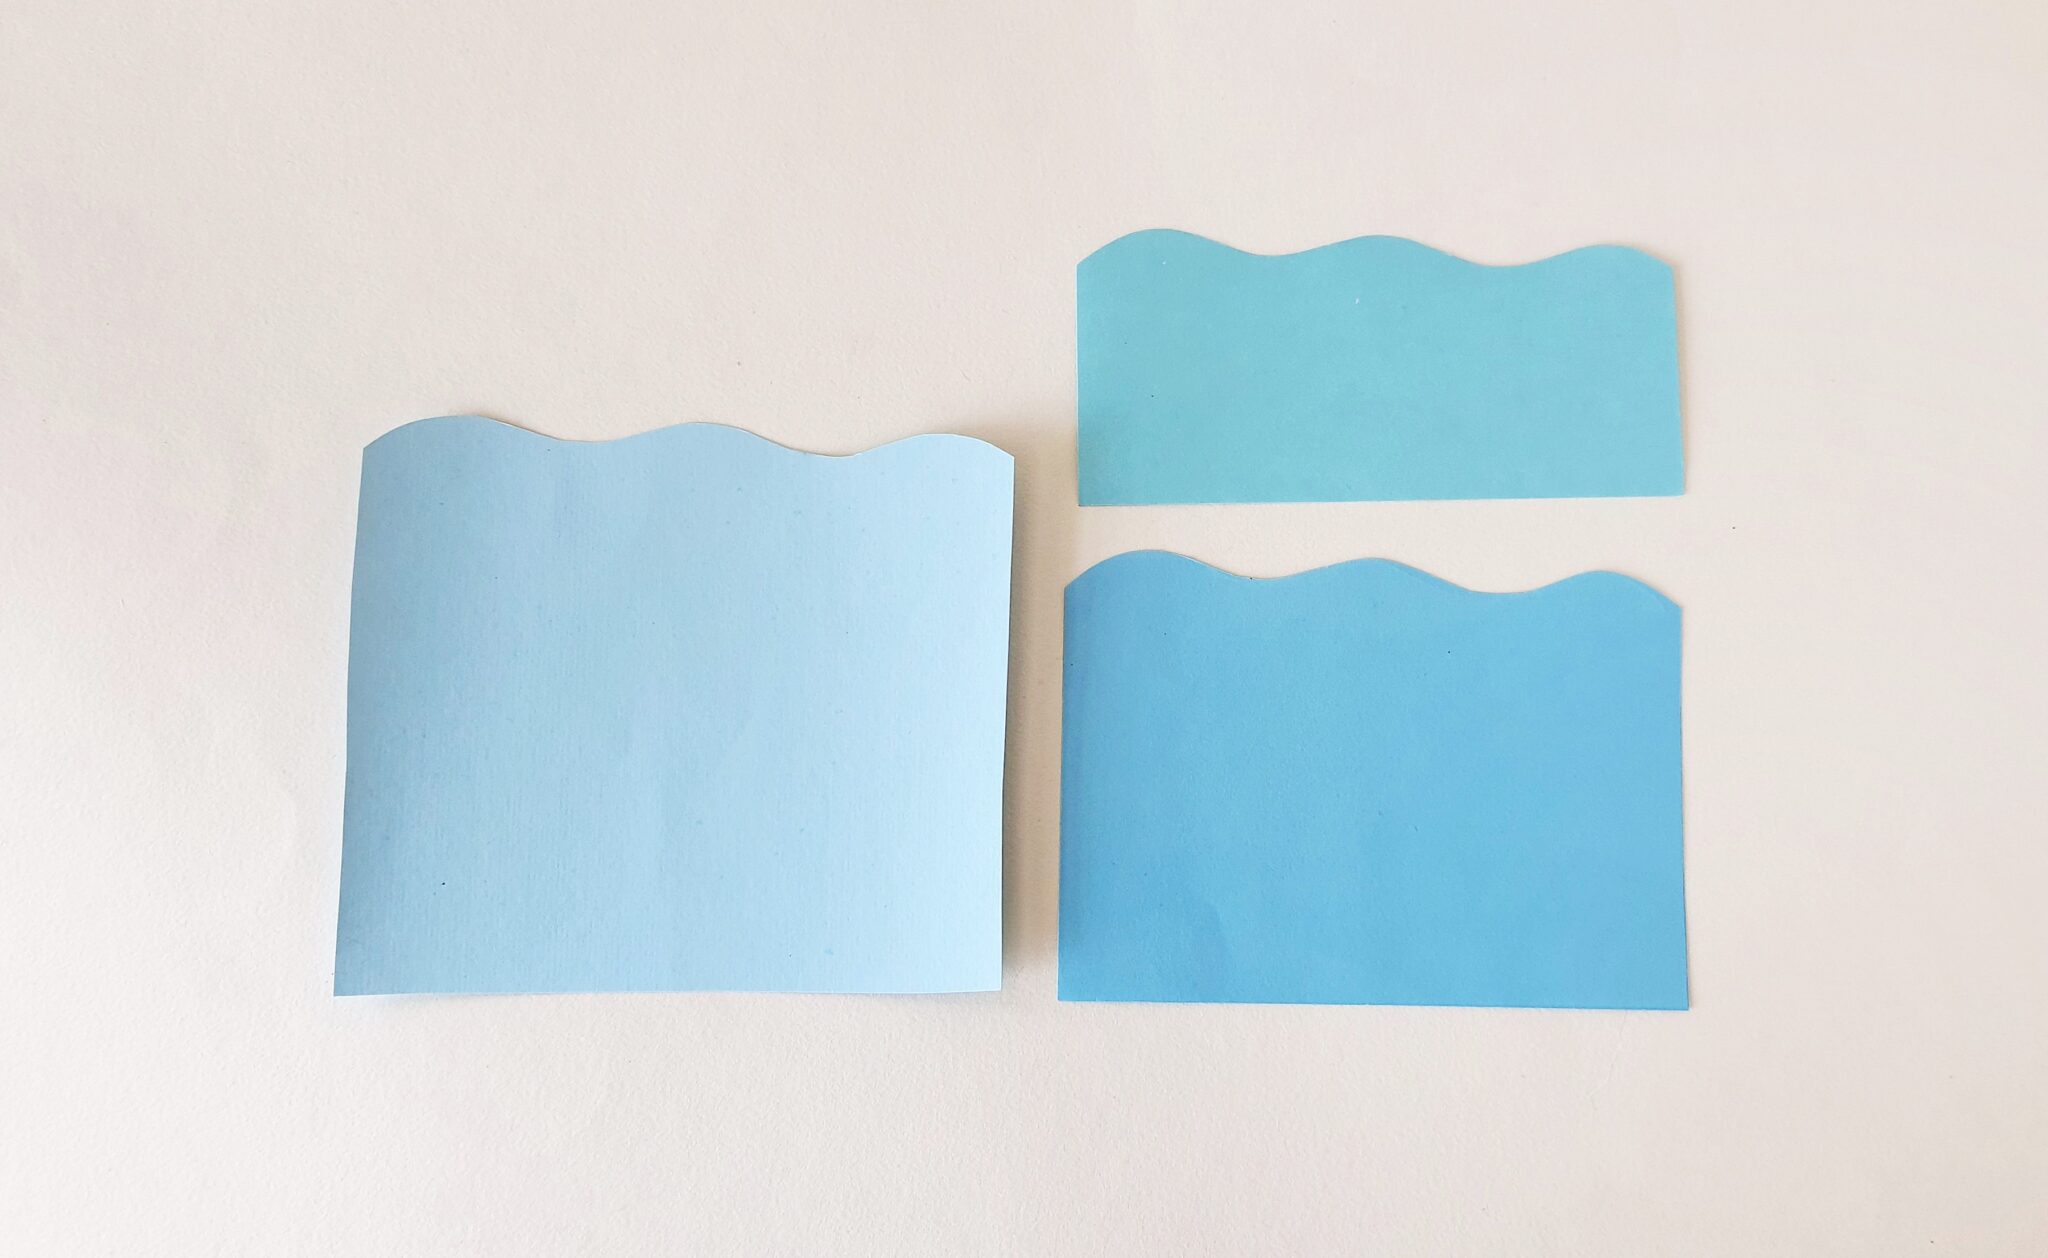
Select different shades of blue-colored craft papers for the underwater layers and select more colored craft papers for the other patterns.
Prepare the craft patterns from the provided template. The template includes three layers of water: sharks, fish, starfish, underwater plants, and pebbles.
Trace the template patterns on the selected colored craft papers using a pencil and cut them out using scissors.
Step 2:
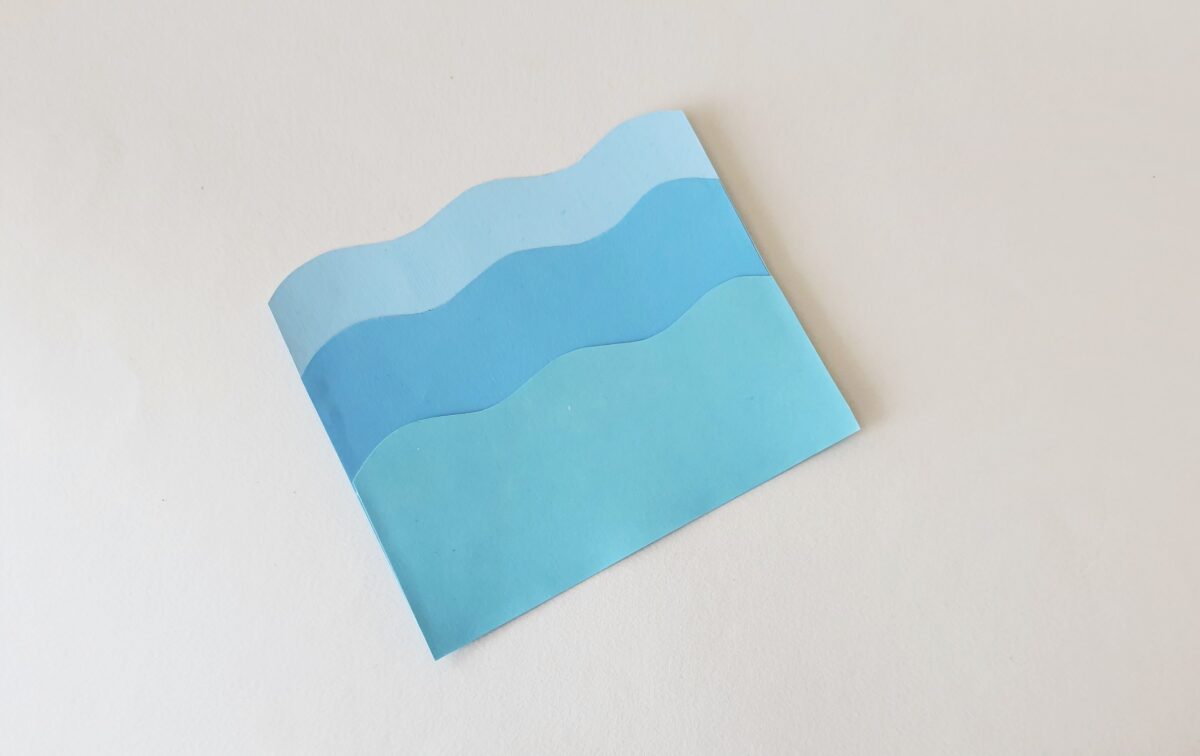
Attach the three underwater layers, keeping the short layers to the front.
Step 3:
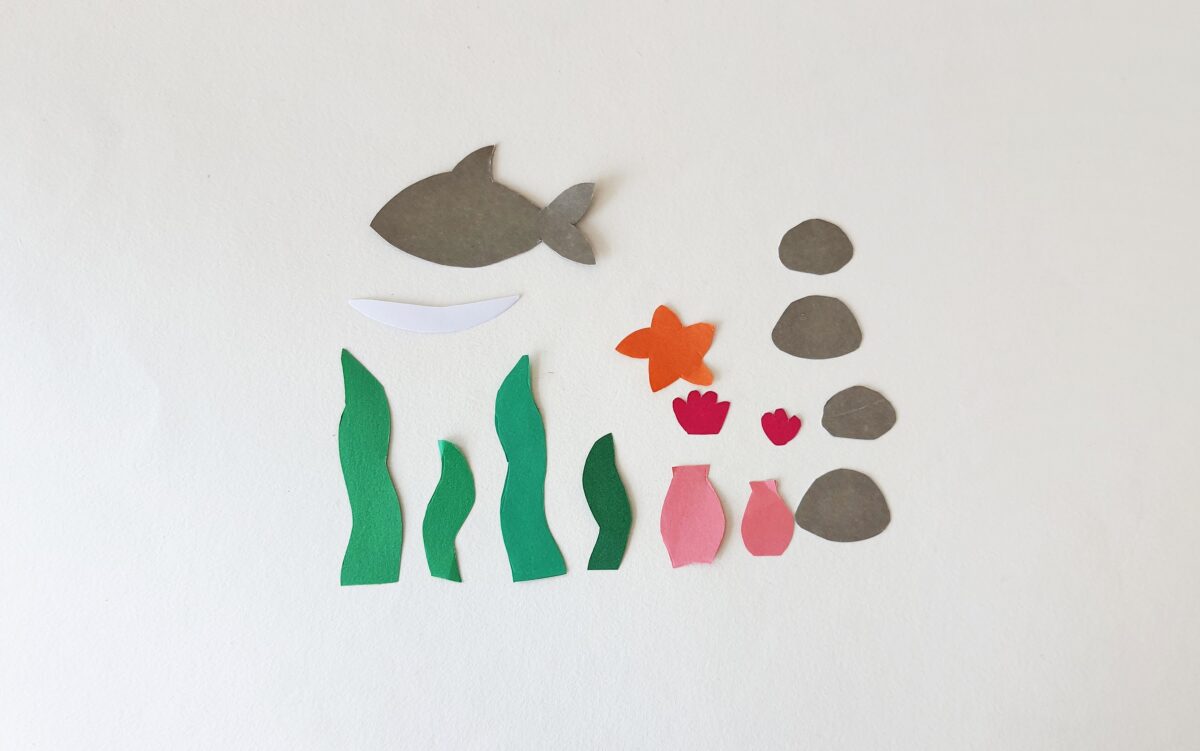
Prepare the other patterns (shark, fish, starfish, etc.)
Step 4:
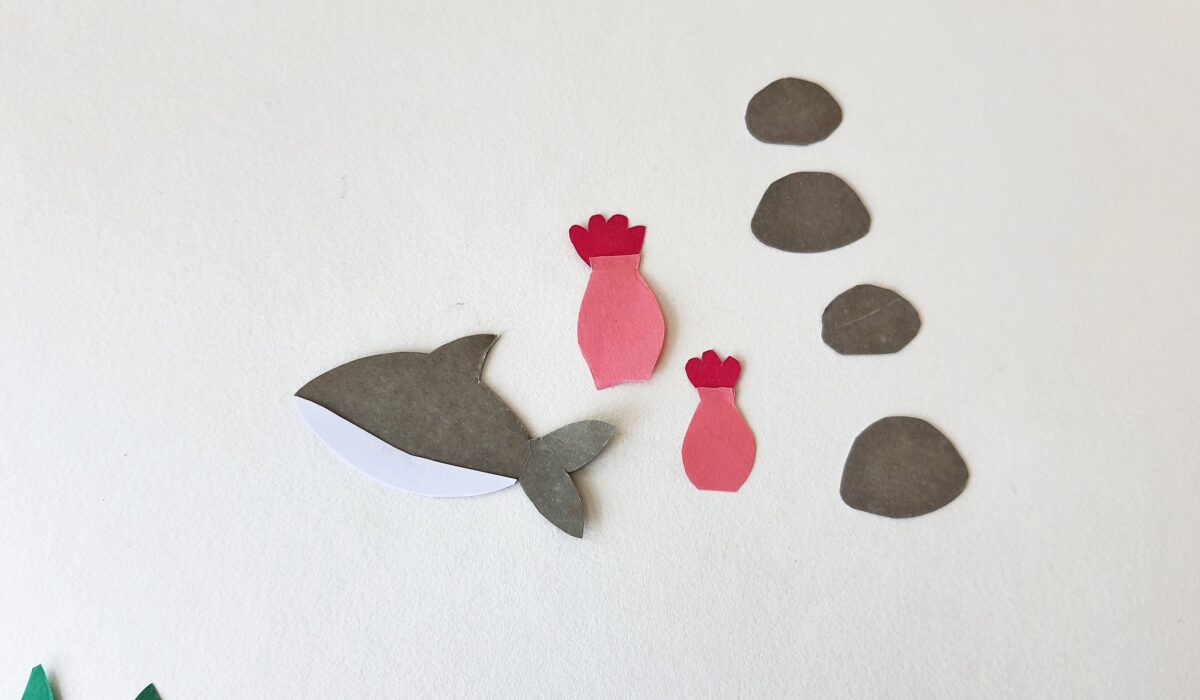
Attach the underwater plant cutouts and attach the bottom part of the shark along the bottom part of the shark base.
Step 5:
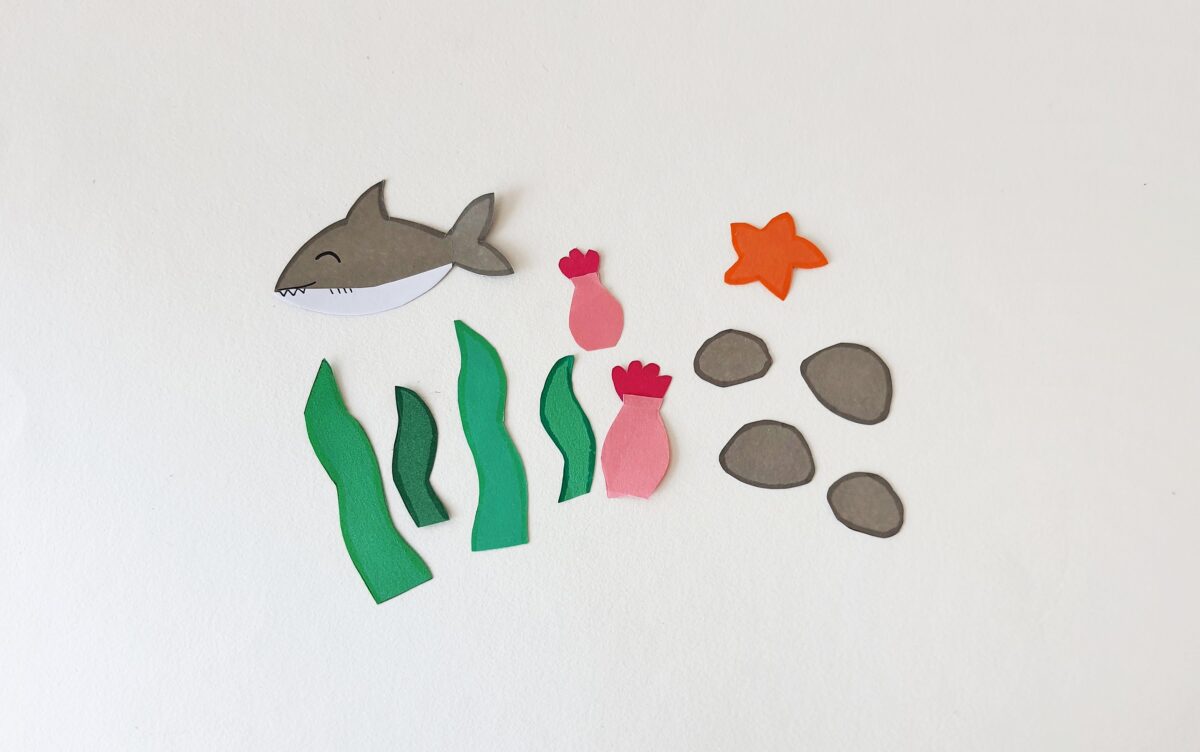
Use Sharpies to trace outlines on the patterns and use a black Sharpie to draw the details of the shark pattern.
Step 6:
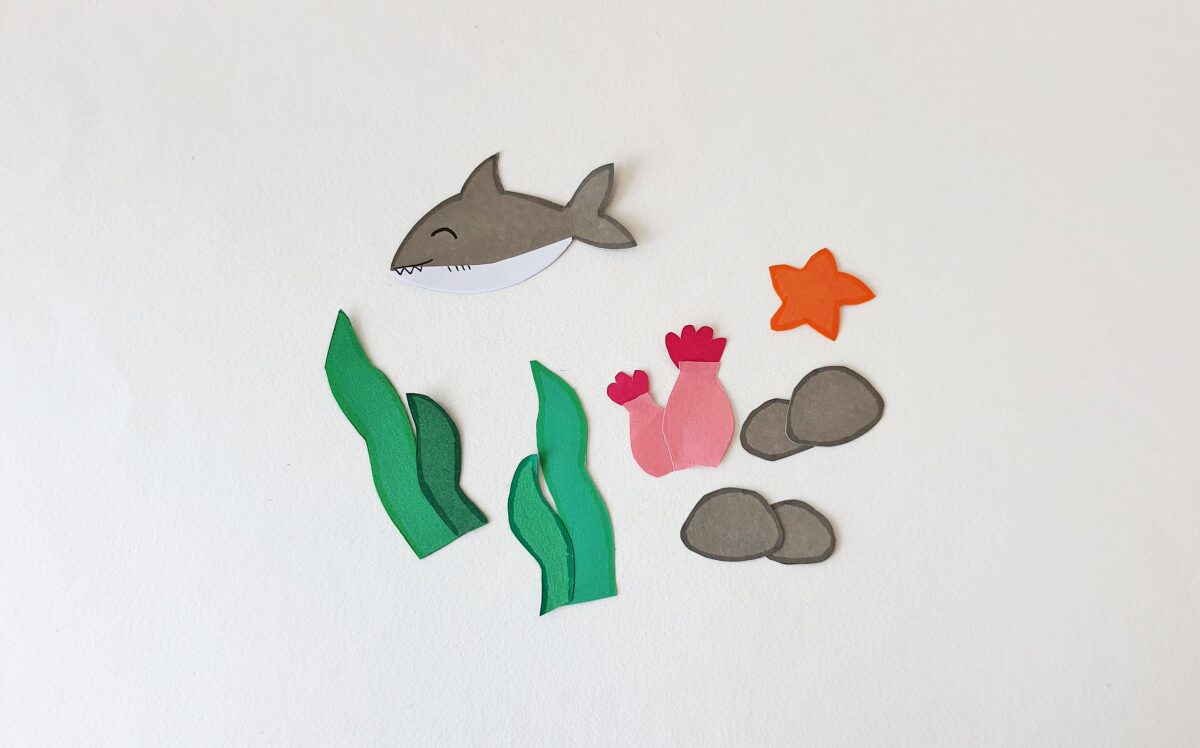
Attach the plant patterns and the pebble cutouts (making a pair of each item).
Step 7:
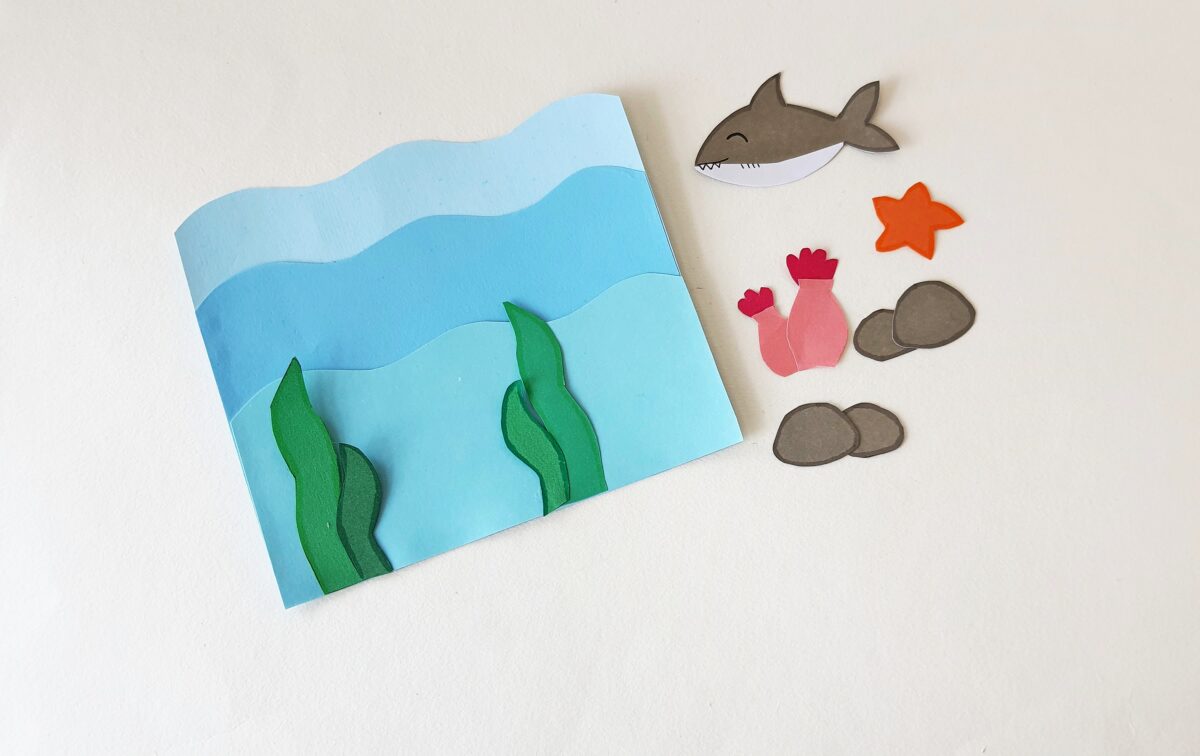
Take the underwater base and arrange the items on the water layers.
Step 8:
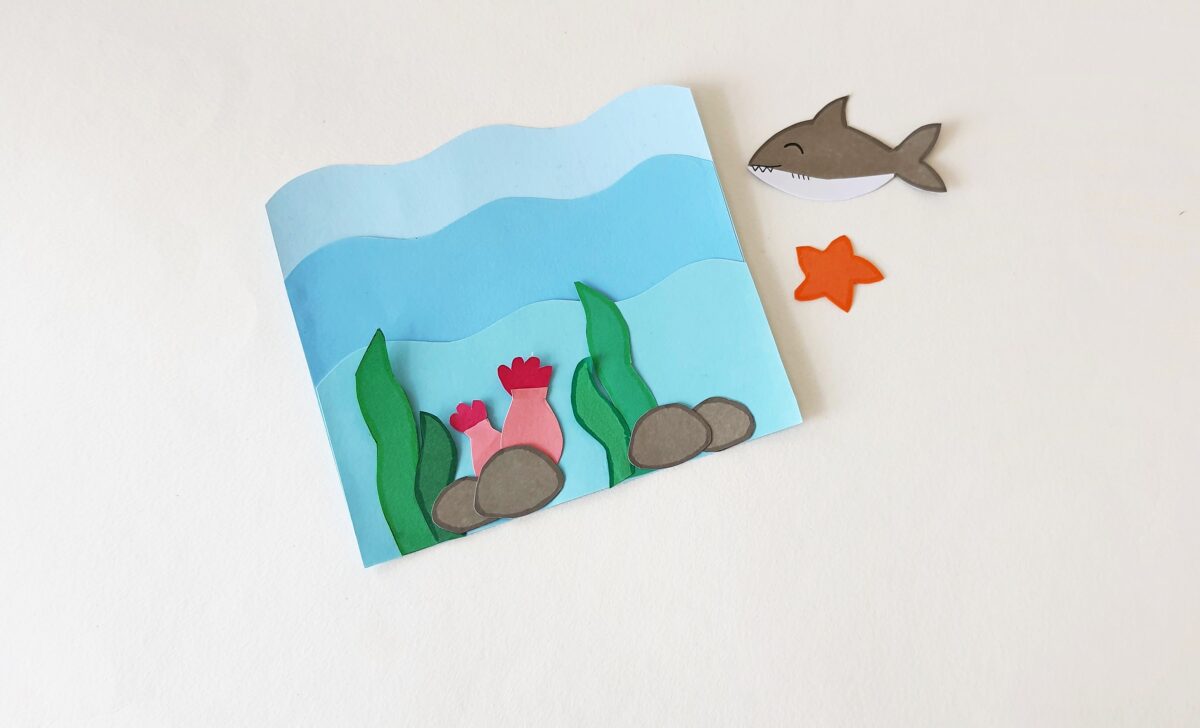
Arrange and attach the items on the water layers nicely.
Step 9:
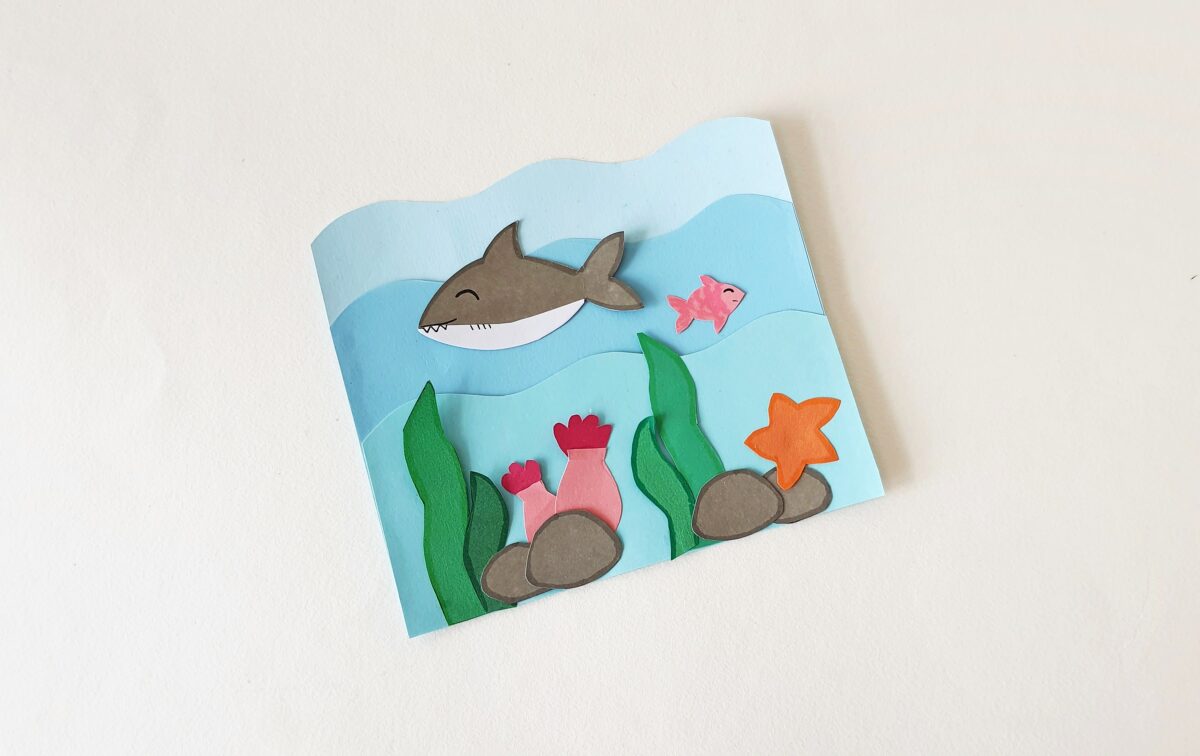
You can add more details to this craft if you want to. You can attach the fish to the water layer or keep them free so that you can move them for a fun activity.
Download FREE Template
